Users
Users are everyone who has access to your Tracy workspace (e.g., you or your colleagues). Users can have access to data and be assigned as responsible for tasks, orders, etc. What specific data a user can view or edit is determined by their role and dataset configuration.
Tracy features two types of users:
- Regular users. Represent real individuals; they use email, Apple, or Google accounts to log in.
- Guests. Access Tracy via a unique link. A guest can represent either an individual or a group of people (e.g., a client’s team that needs access to their project tasks).
System Settings Access
Unlike guests, standard users can be granted three levels of access to system settings:
- Selective—management of only specific dashboards and datasets.
- Extended—management of all dashboards, datasets, roles, and users (except for users with full access).
- Full—unrestricted management of the entire workspace, including deletion, subscriptions, and billing.
Managing Users
To manage users, first go to the workspace screen by clicking its name in the sidebar, then click “Users” ①.


Adding a User
To add a user, click the blue “+” button at the bottom right of the screen.
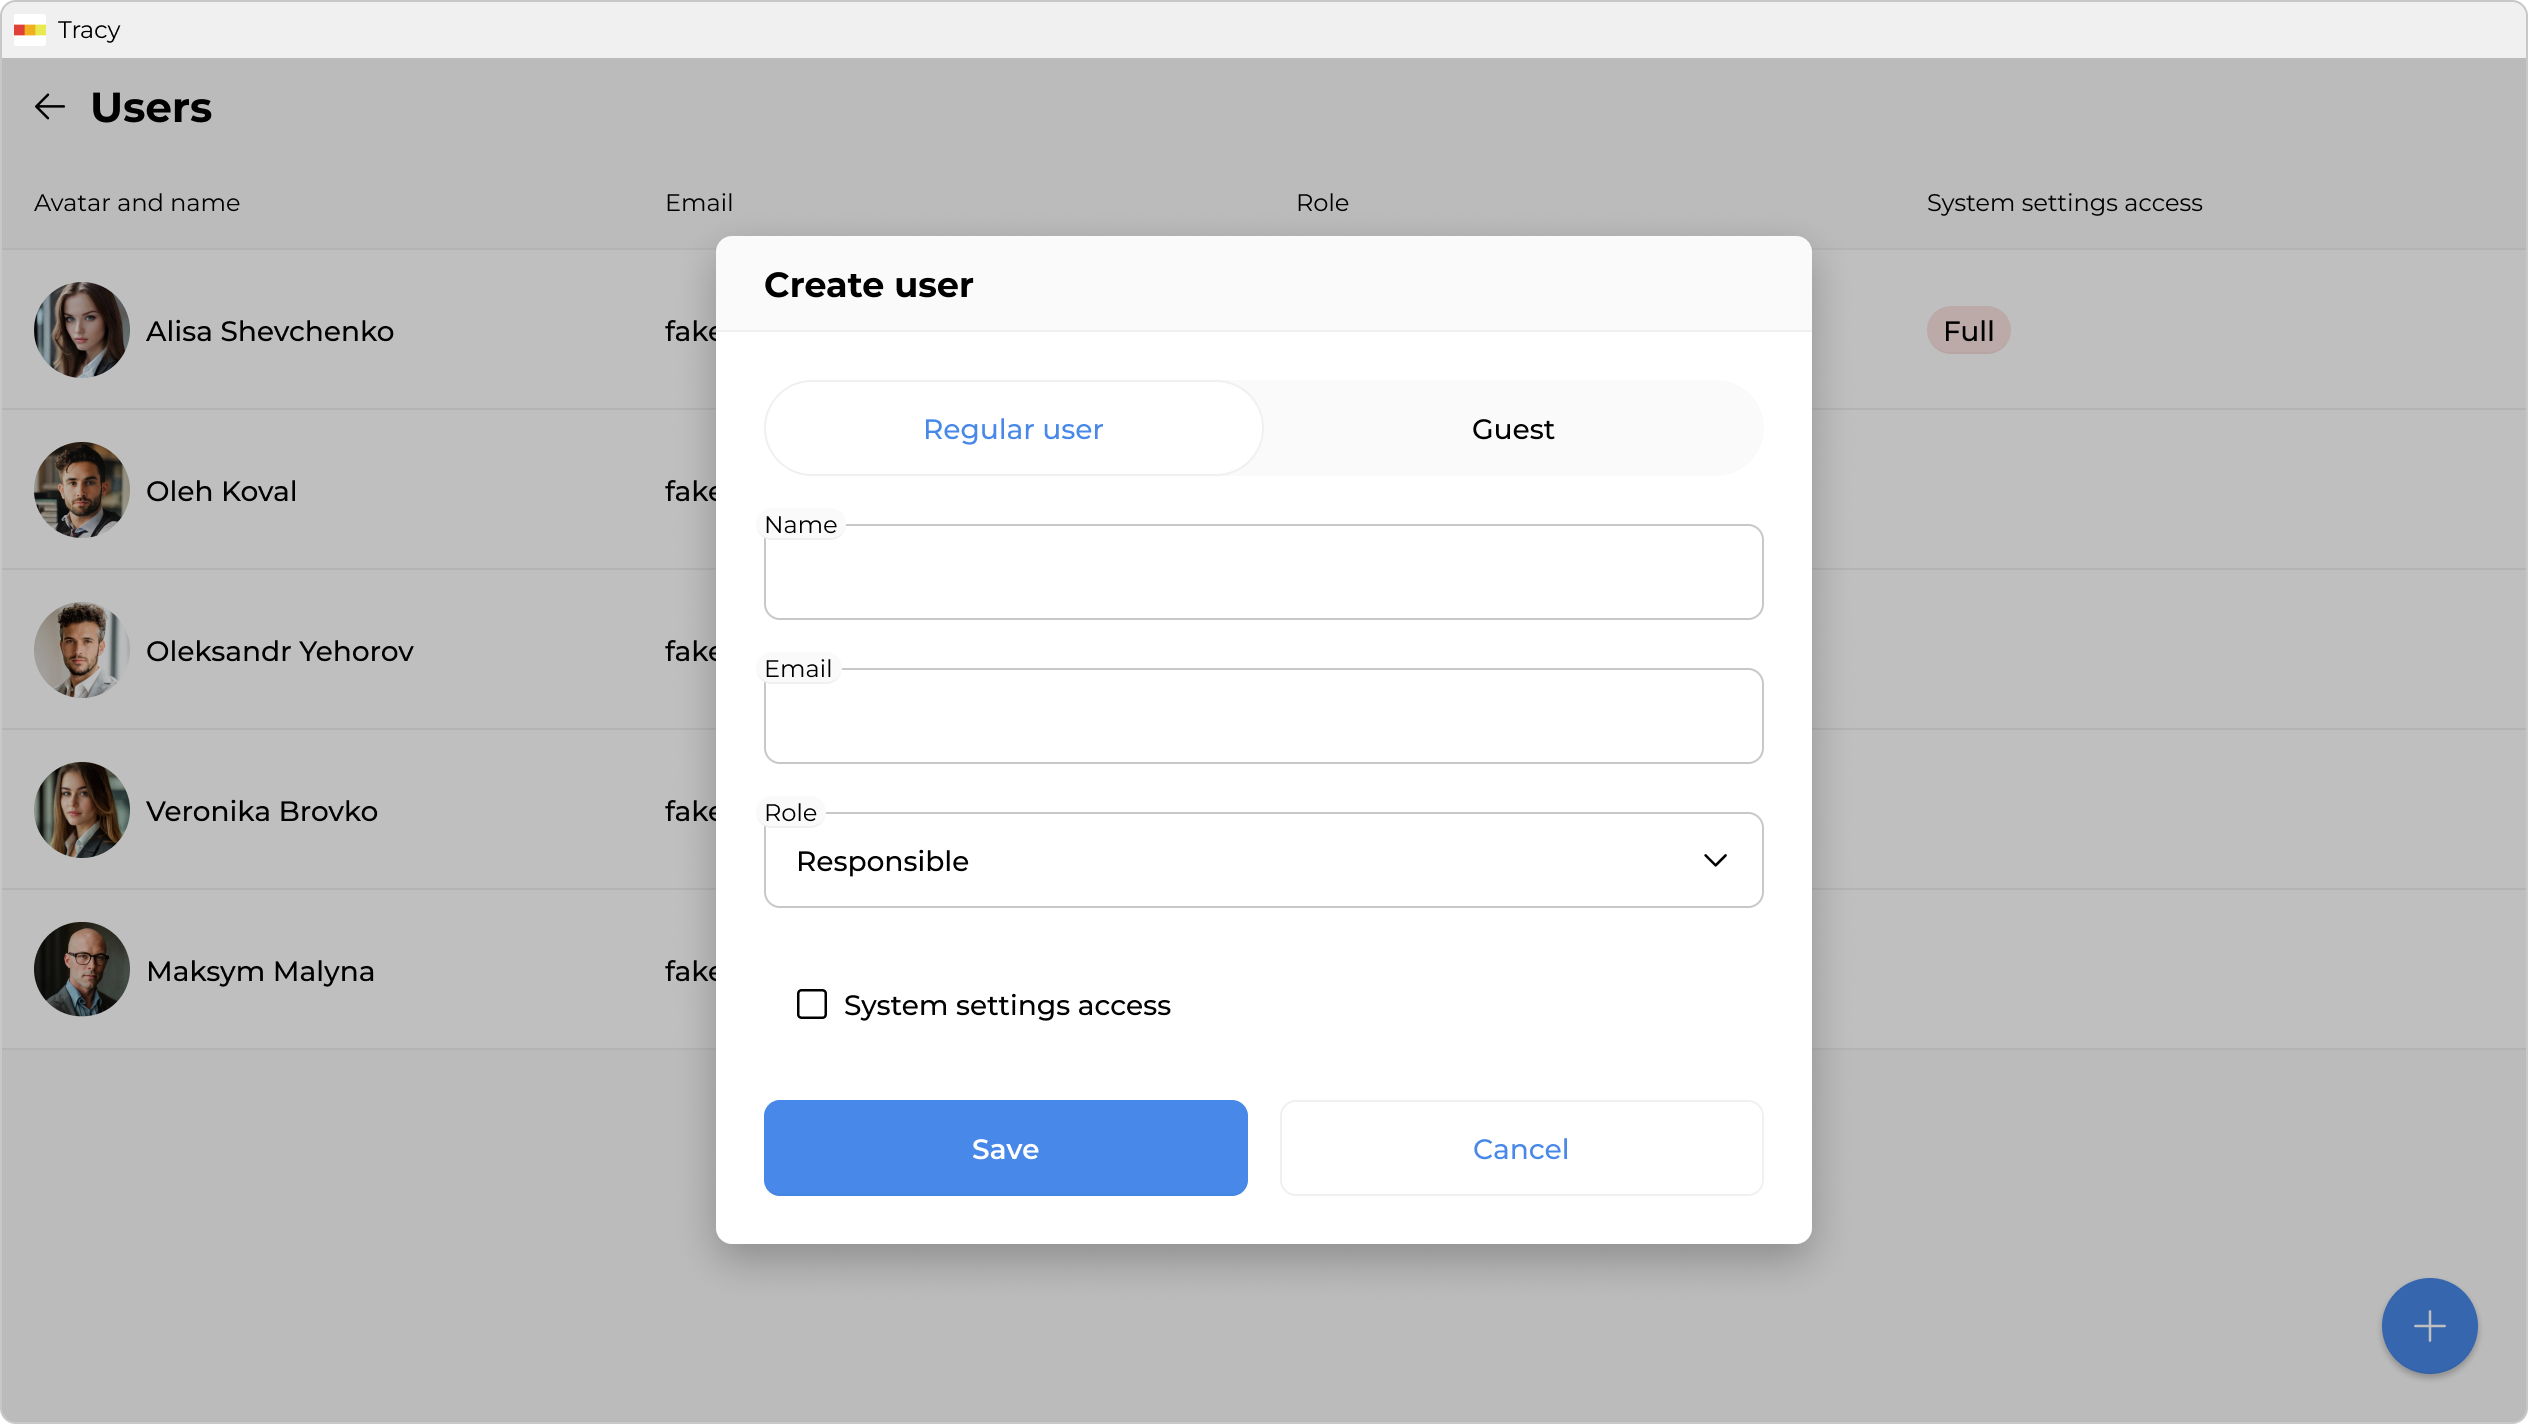
In the window that opens, specify the user’s type, name, email address, role, system settings access level, and click “Save”.
Changing User Data
To change user data, click the corresponding row in the list of users, make the necessary changes in the window that opens, and click “Save”.
Activating and Deactivating a User
Deactivated users lose the ability to log into the workspace and do not affect the plan’s limits on the number of users. However, they continue to be displayed in tasks or orders to which they were assigned.
To activate or deactivate a user, click the corresponding row in the list of users and choose the appropriate option from the context menu in the window that opens.
Deleting a User
To delete a user, click the corresponding row in the list of users and select the “Delete” option from the context menu in the window that opens.