Roles
Roles group users based on their activity within the organization or team. For example, managers take orders, cooks prepare them, and delivery persons deliver them. Users in each role may have different levels of access to data, which is determined by the settings of specific datasets: managers need all information, cooks only need to know what and when to prepare, and couriers need to know what, where, when, and to whom to deliver.
Managing Roles
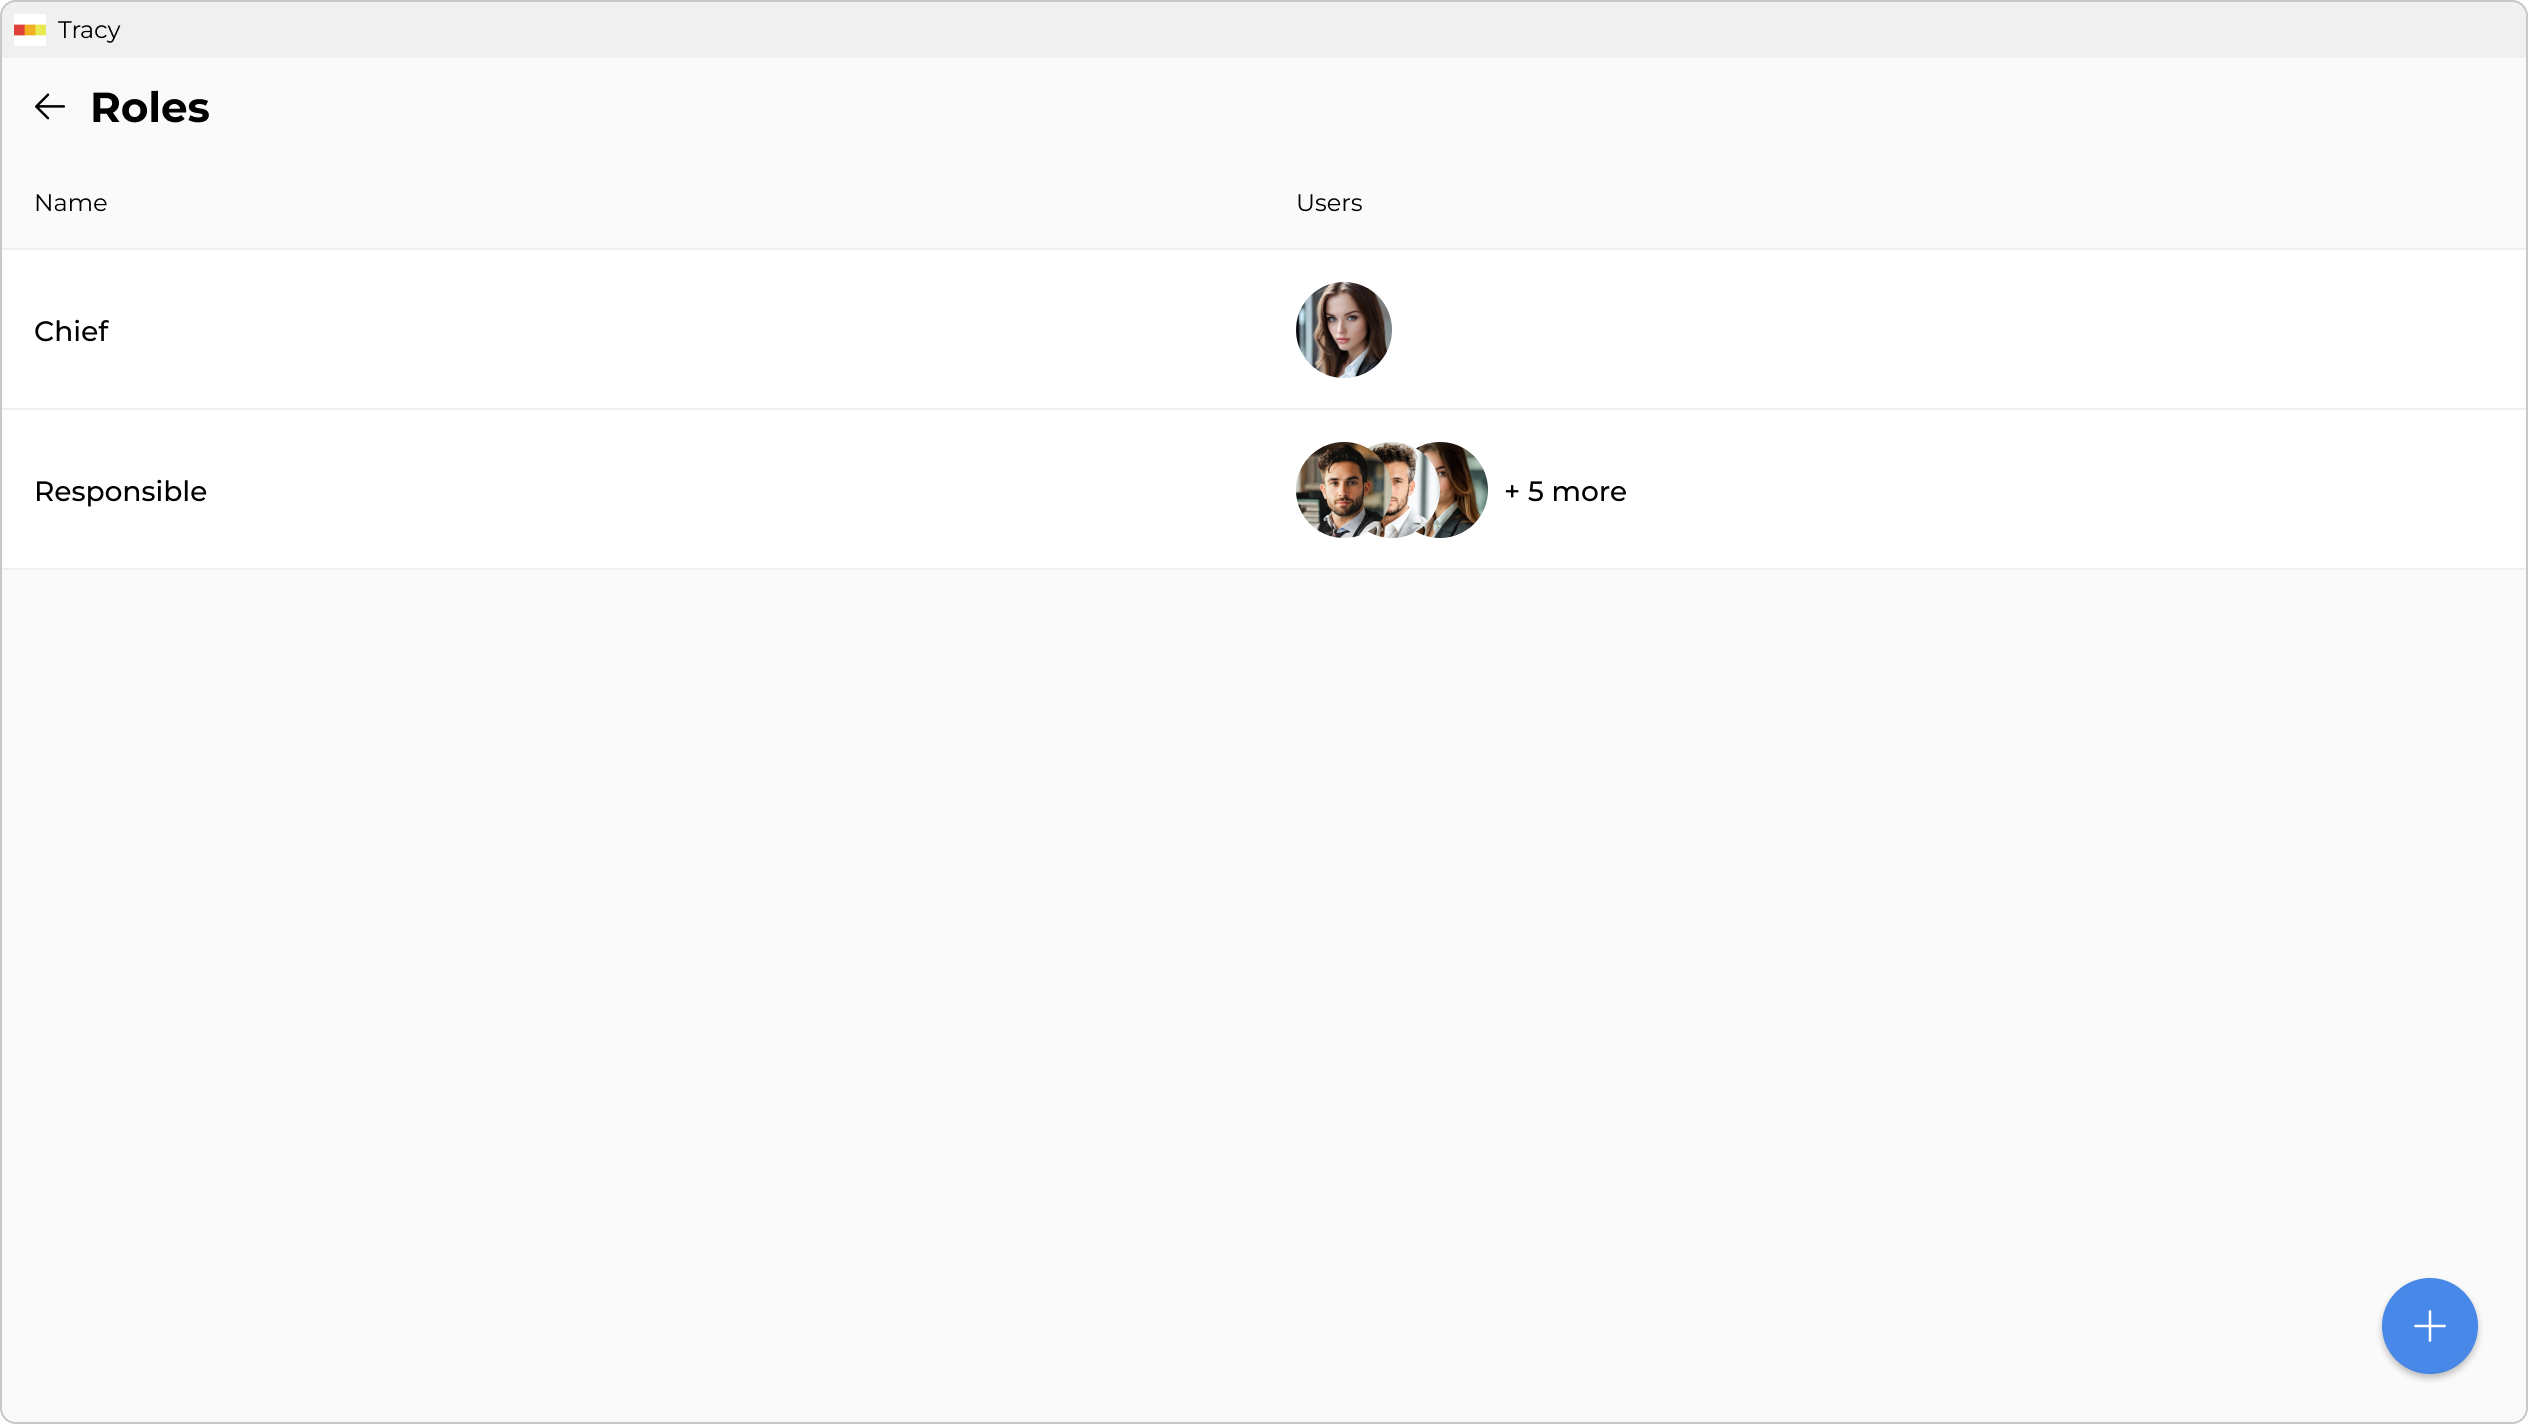
To manage roles, first go to the workspace screen by clicking its name in the sidebar, then click “Roles” ①.
Adding a Role
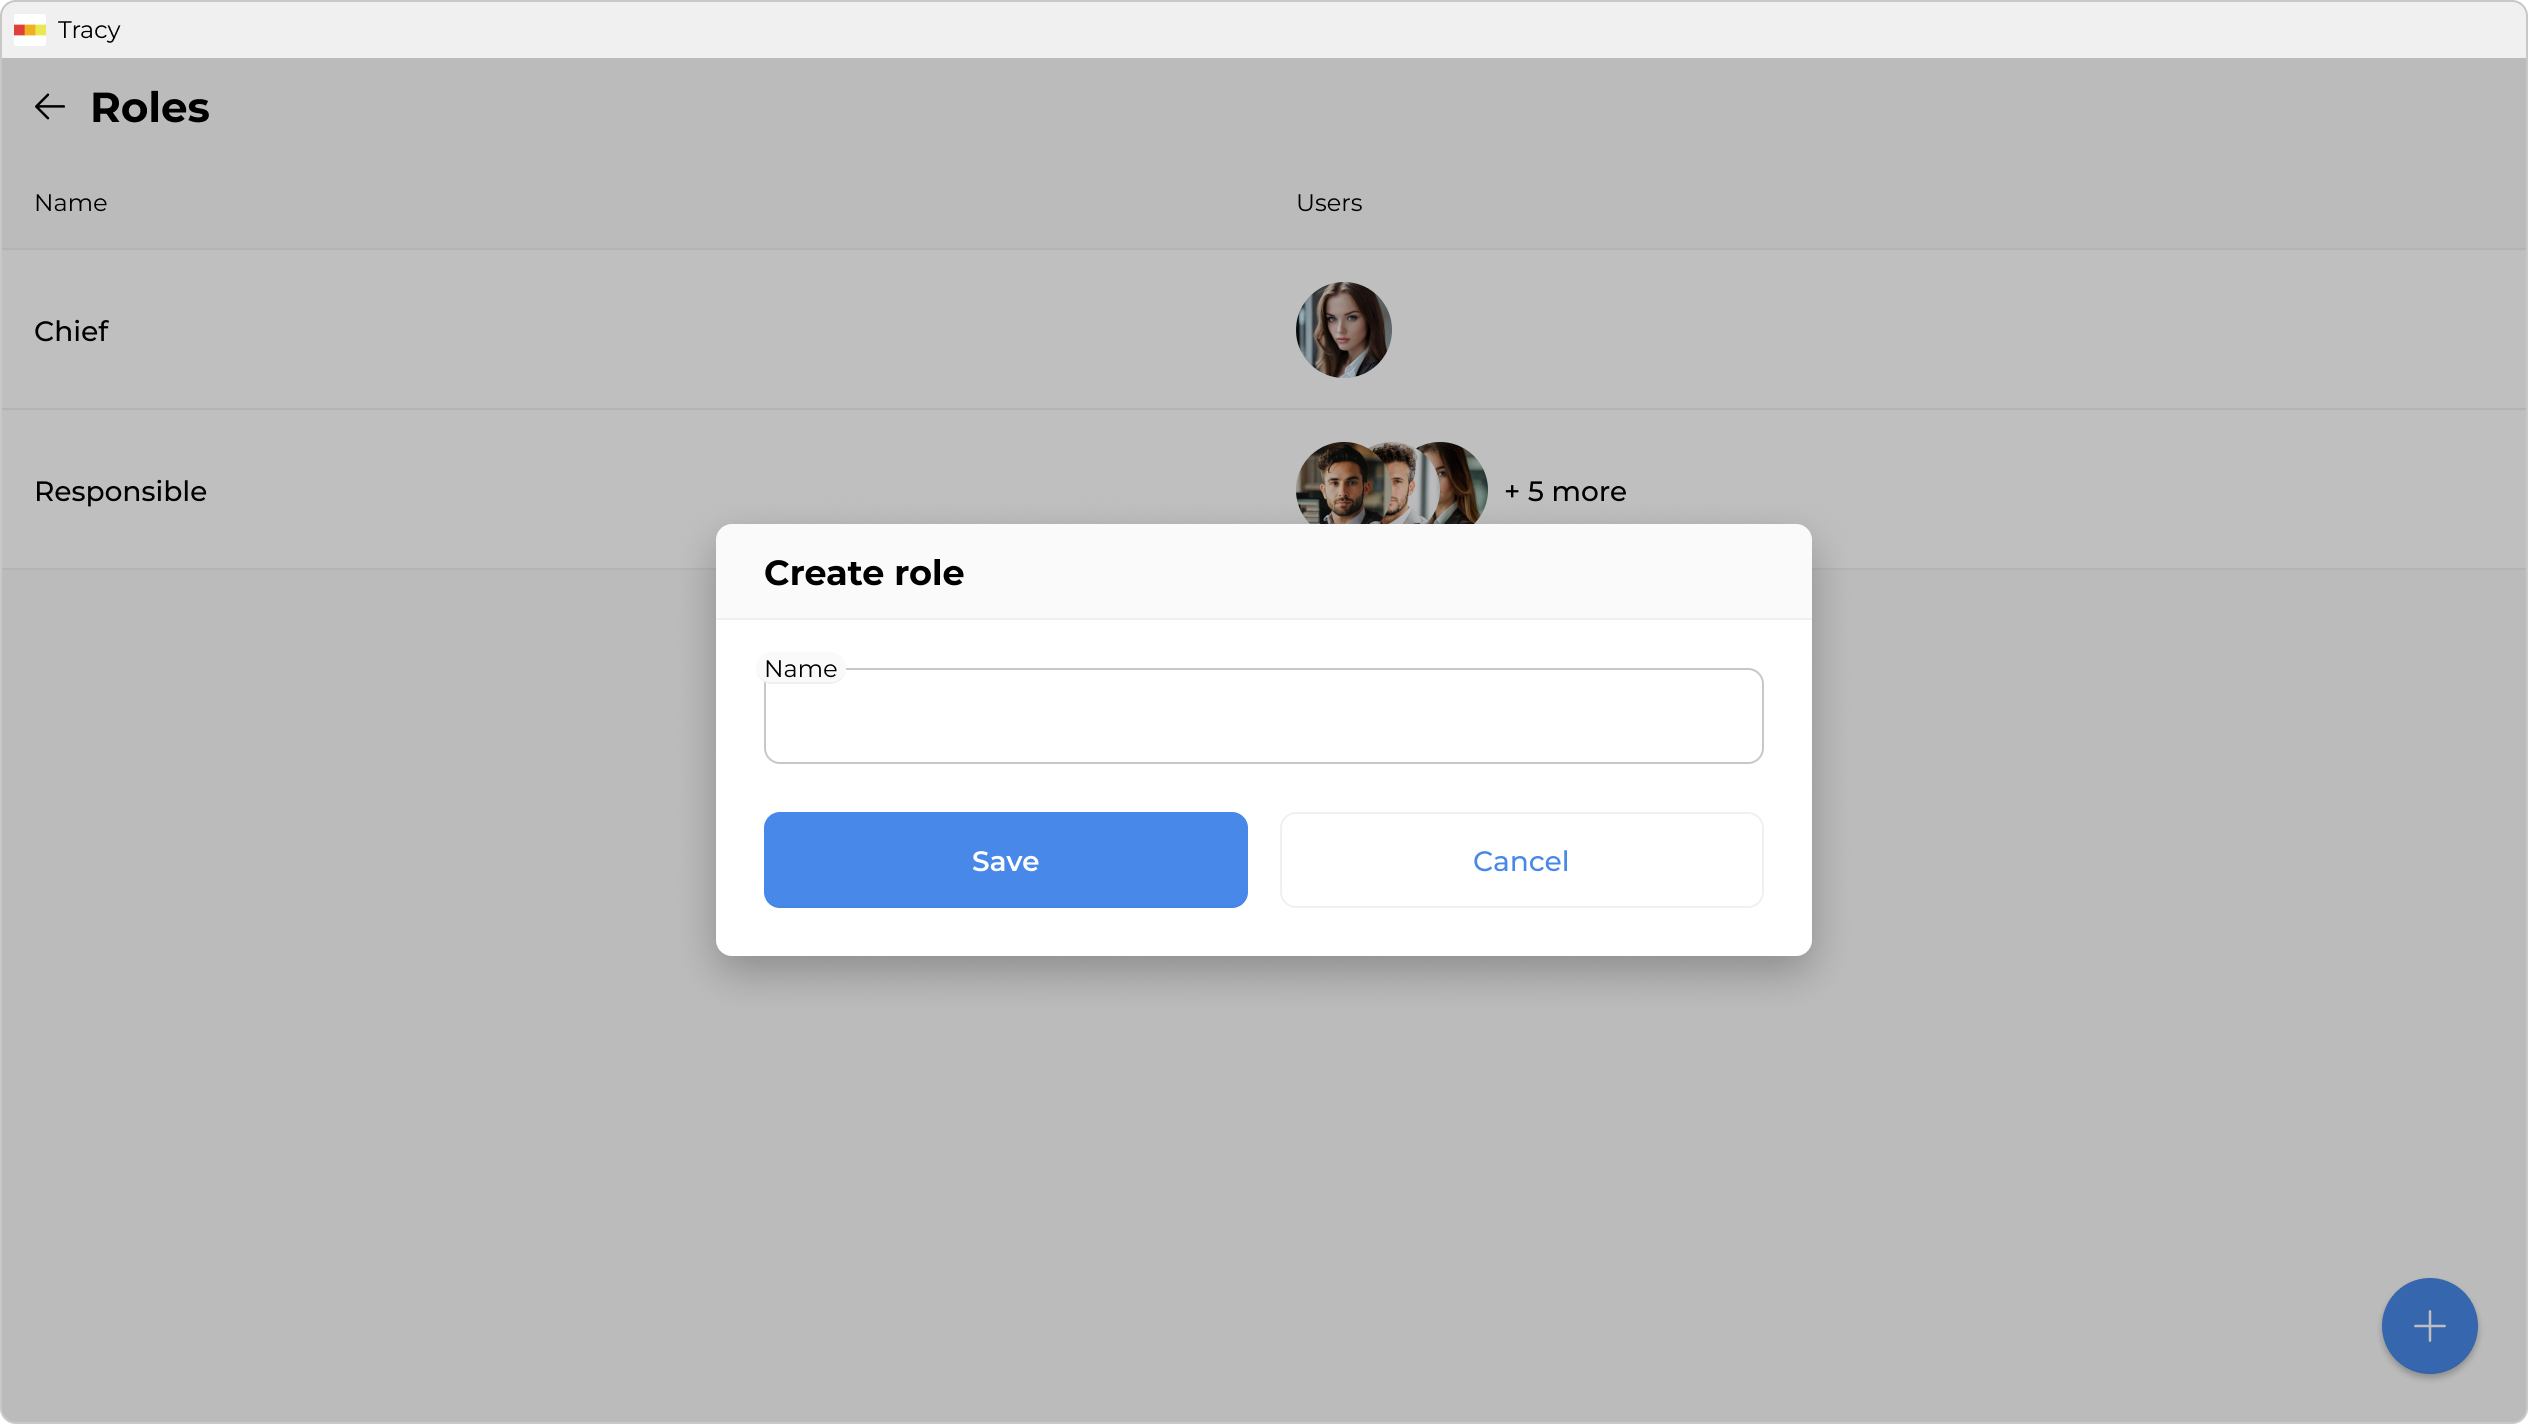
To add a role, click the blue “+” button at the bottom right of the screen.

In the window that opens, specify the role’s name and click “Save”.
Renaming a Role
To rename a role, click the corresponding row in the list of roles, make the necessary changes in the window that opens, and click “Save”.
Deleting a Role
To delete a role, click the corresponding row in the list of roles and select the “Delete” option from the context menu in the window that opens.